
You will need to perform the following steps to setup Sendgrid with SendX platform:
-
Sign up for Sendgrid and get your API Key
-
Setup Bounce/Complaint handling
Sign up for Sendgrid and get your API Key
-
Visit Sendgrid and sign up for a Sendgrid account. Sendgrid has a free plan of sending up to *12000( emails free per month.
-
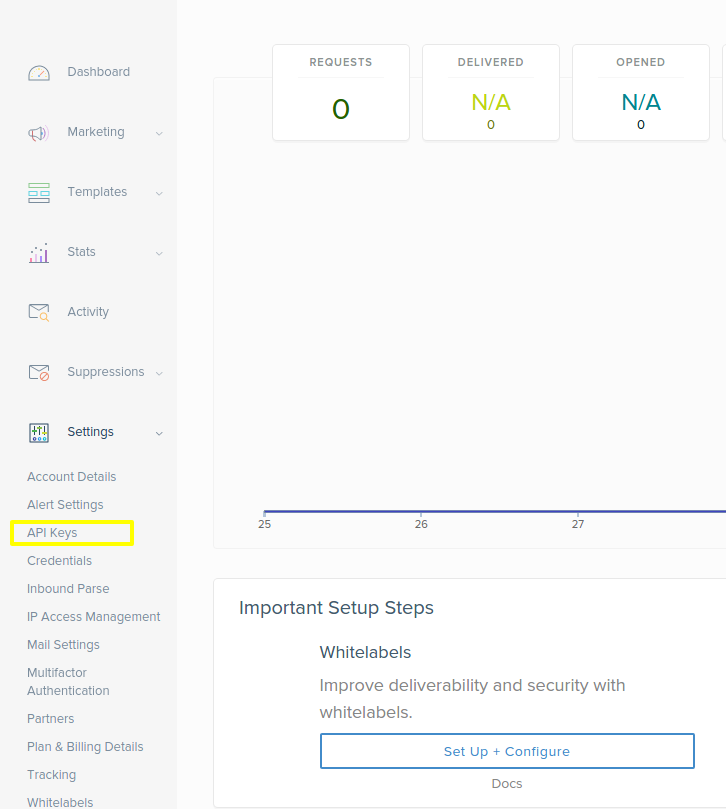
Login to your SendGrid account and select Settings > API Keys.
-
Click on Create API Key > General API Key

-
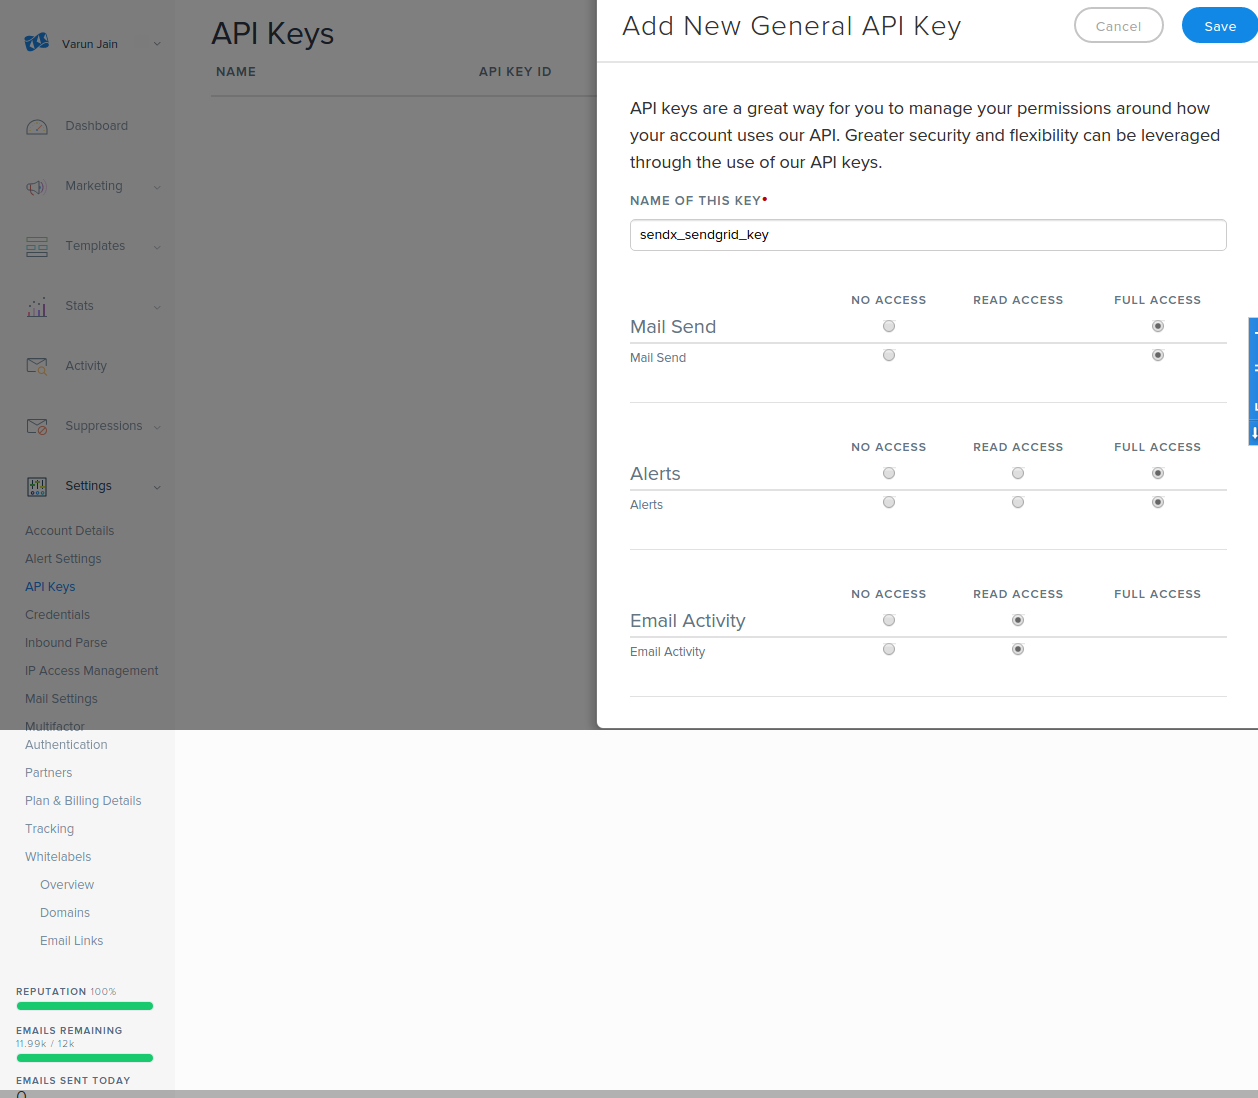
Add new general API Key and give it some name ( eg: sendxsendgridkey) and provider full access to the same.
-
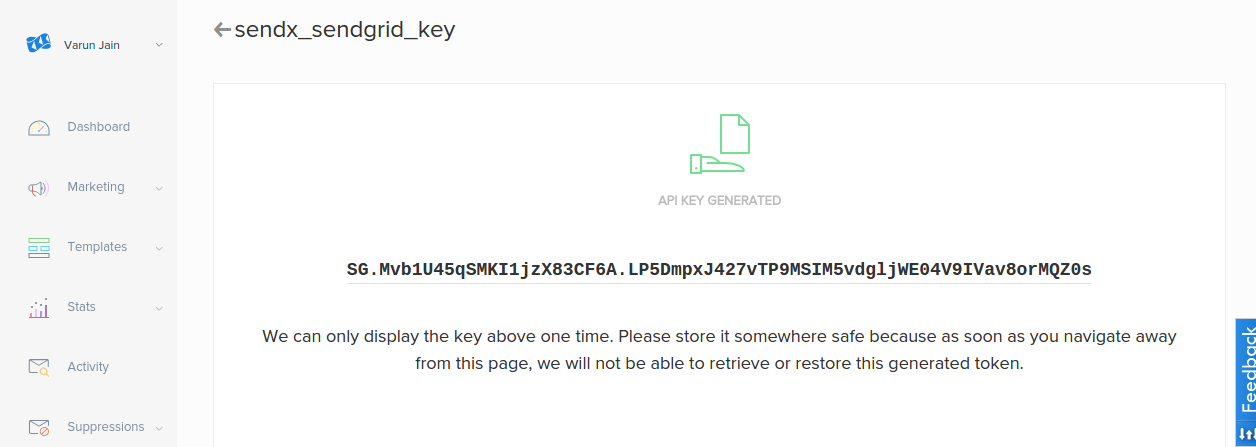
Post submit you shall be redirected to the screen with your new API key generated. Copy this key.
- Add a new provider at SendX Settings > Custom Providers of type Sendgrid and paste the Sendgrid API keys which were previously generated.
-
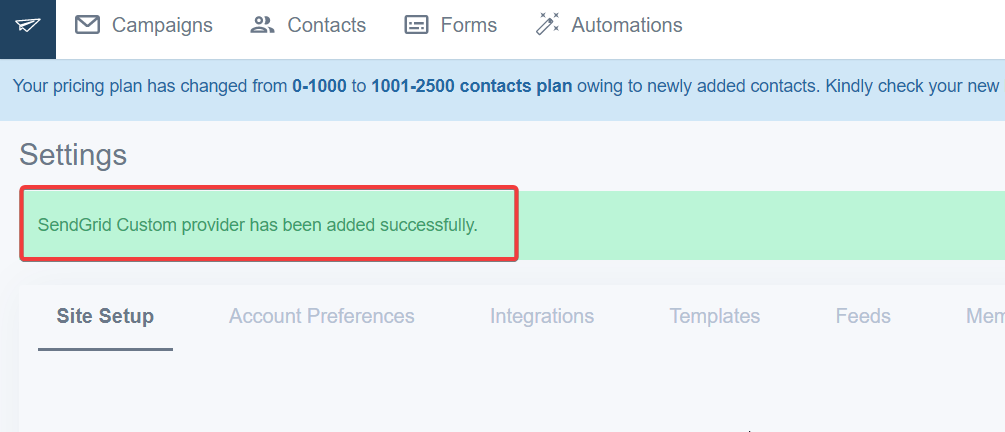
On successful addition of a new provider, you shall be able to see a screen like this.
Setting up bounce, spam and block complaints
-
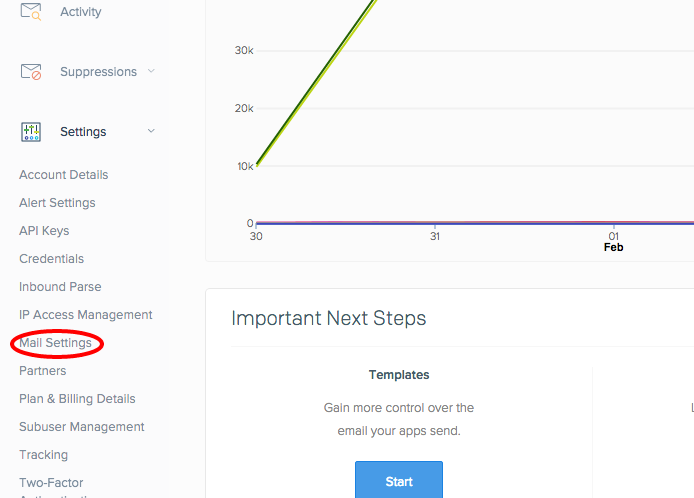
In the Sendgrid's left hand menu, under the 'Settings' tab, click on the 'Mail Settings' option.
-
Click on the 'Event Notification section and click on the 'edit' link.
-
A text box appears to enter the HTTP POST URL. Add the text 'https://app.sendx.io/api/v1/sendgrid/event' into the text box.
-
Once done, click on the action options Dropped, Bounced and Mark as Spam to send bounce and spam reports as in the previous image to SendX.
-
Click the Tick mark on the right side of the tab to save these settings. Note that the Event Notification is set as ON at the end of this process.
Voila ! At this stage you can start using SendGrid to send emails from SendX.
Did this answer your question?