
Adding a custom field to your website URL allows you to create personalized and dynamic links for your users. By following the steps outlined in this tutorial, you can easily incorporate custom fields into your website URL structure.
We will guide you through the process of adding a custom field to your website URL using the example of SendX.io.
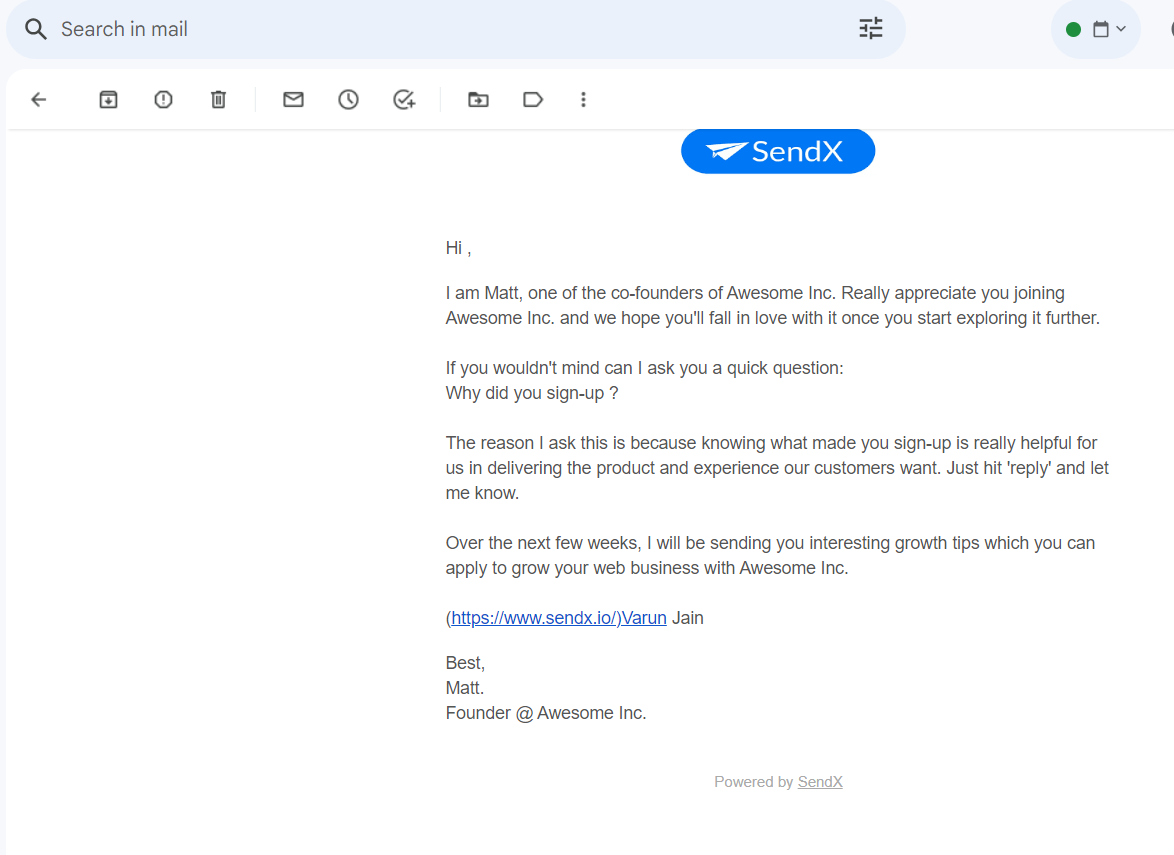
Step 1:Identify the custom field
Determine the specific data or variable you want to include in your website URL. This could be the user's name, a unique identifier, or any other relevant information.
Step 2: Replace the value with the custom field
In the URL, replace the section that would typically hold a static value with the custom field placeholder. For example, if the URL is (https://www.sendx.io/){{value}} replace "value" with the placeholder for your custom field. In this case, it would be "{{.Name}}" if you're using the user's name.

Step 3: Test the custom field
Save the changes and test the URL to ensure that the custom field is properly populated. You can do this by accessing the URL with different values for the custom field and verifying that it updates accordingly.
If you have any additional questions, please feel free to reach out to us.